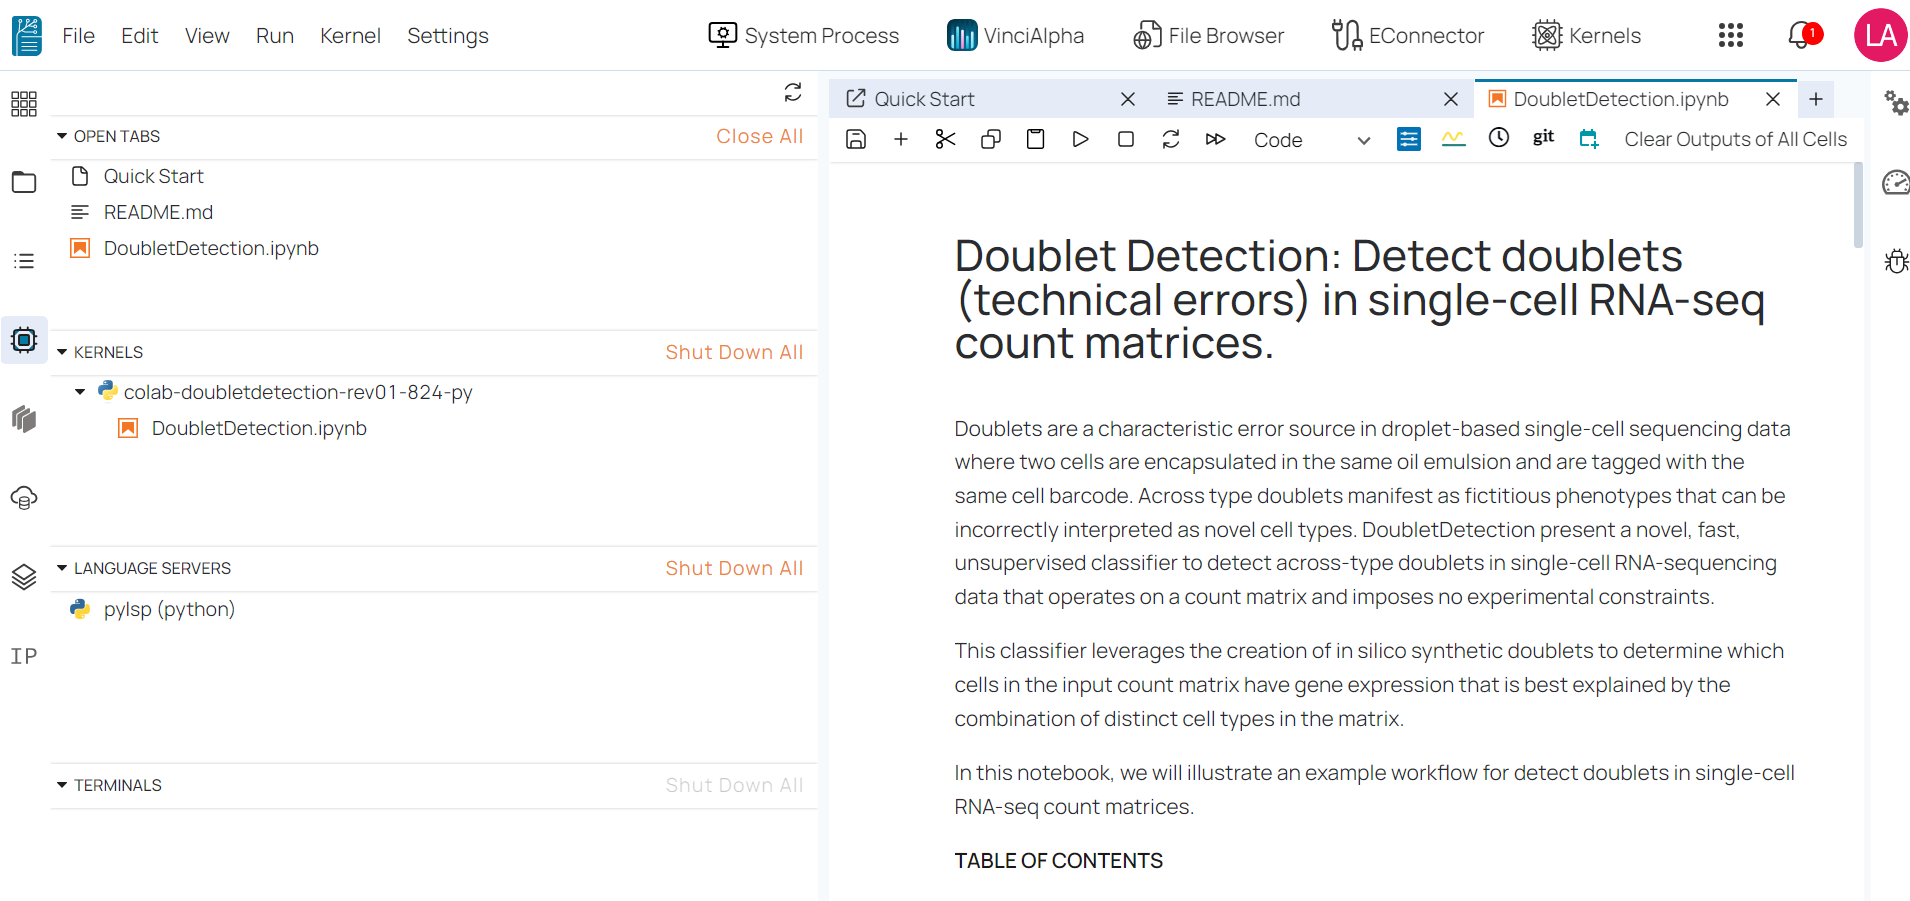
Workspace interface 
BioStudio workspace is a collection of powerful tools and applications designed to assist scientists with their data manipulations.
The workspace interface consists of a main work area that lists all of the tools and applications available in BioStudio, a menu bar located at the top of workspace, a collapsible left sidebar, and a right sidebar.

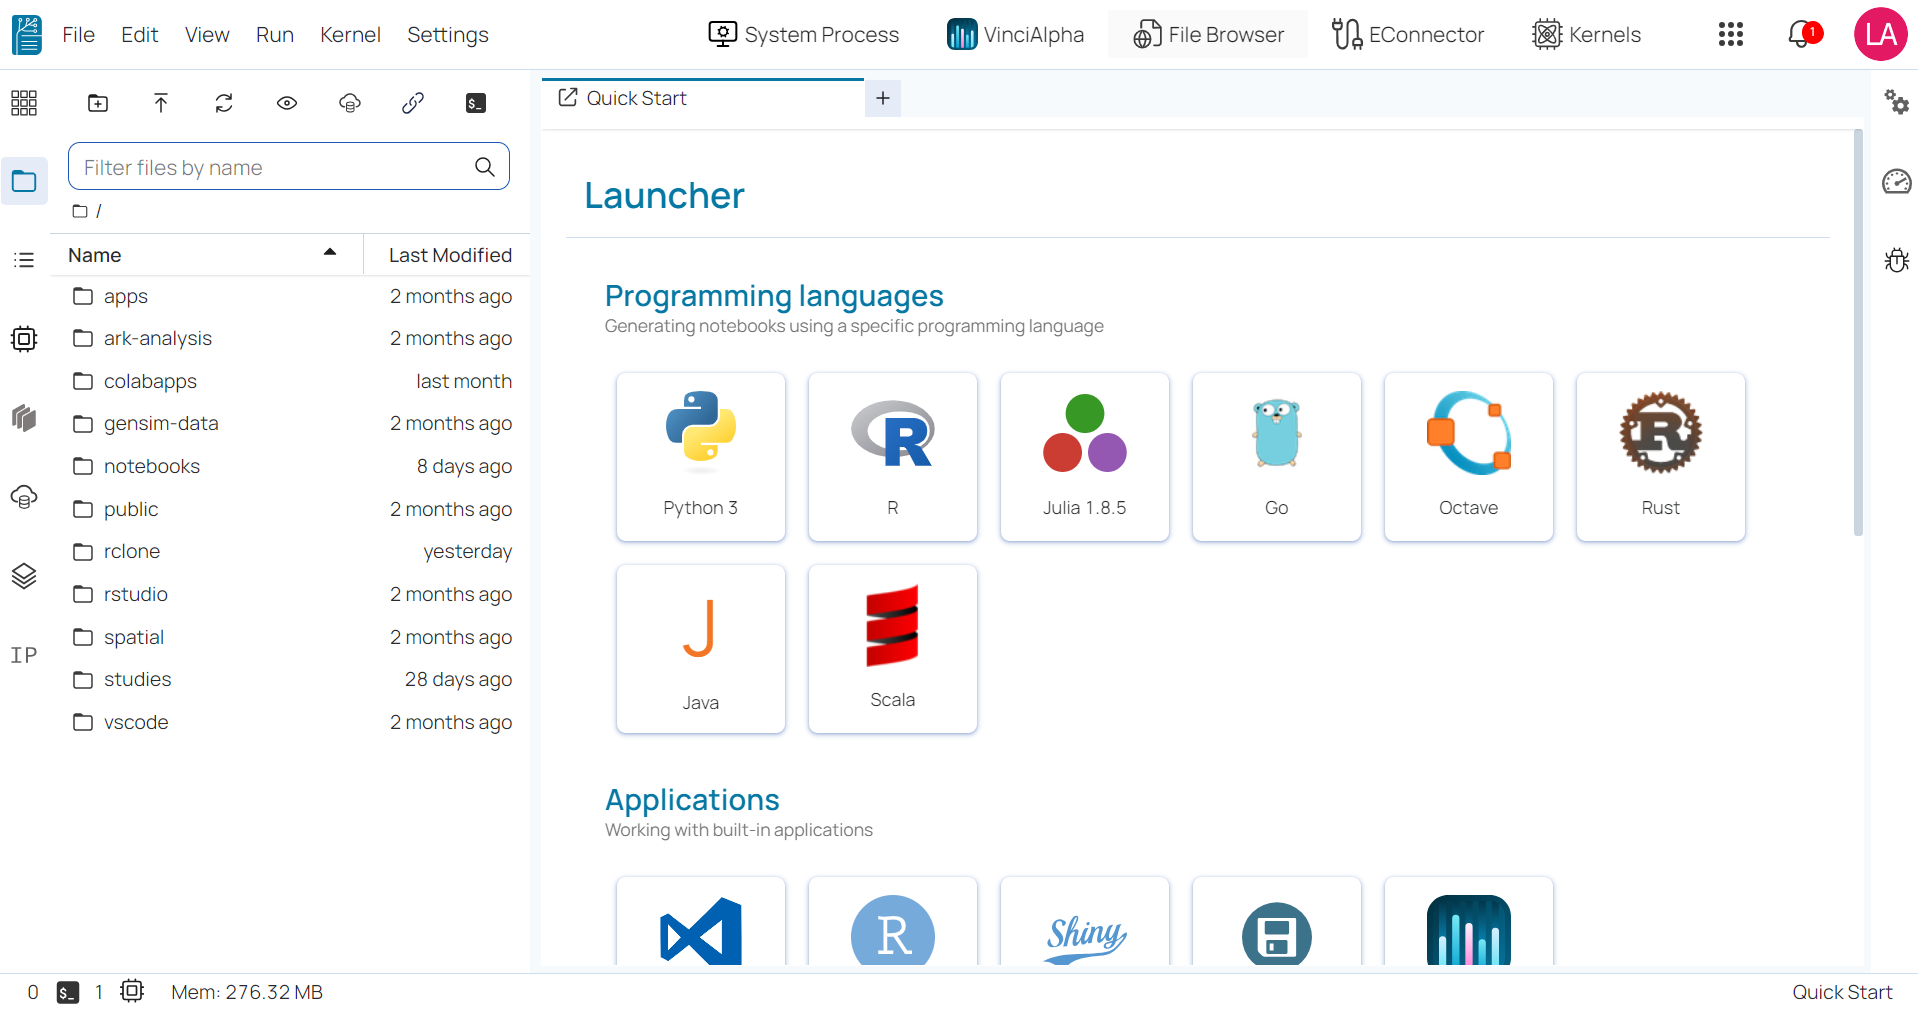
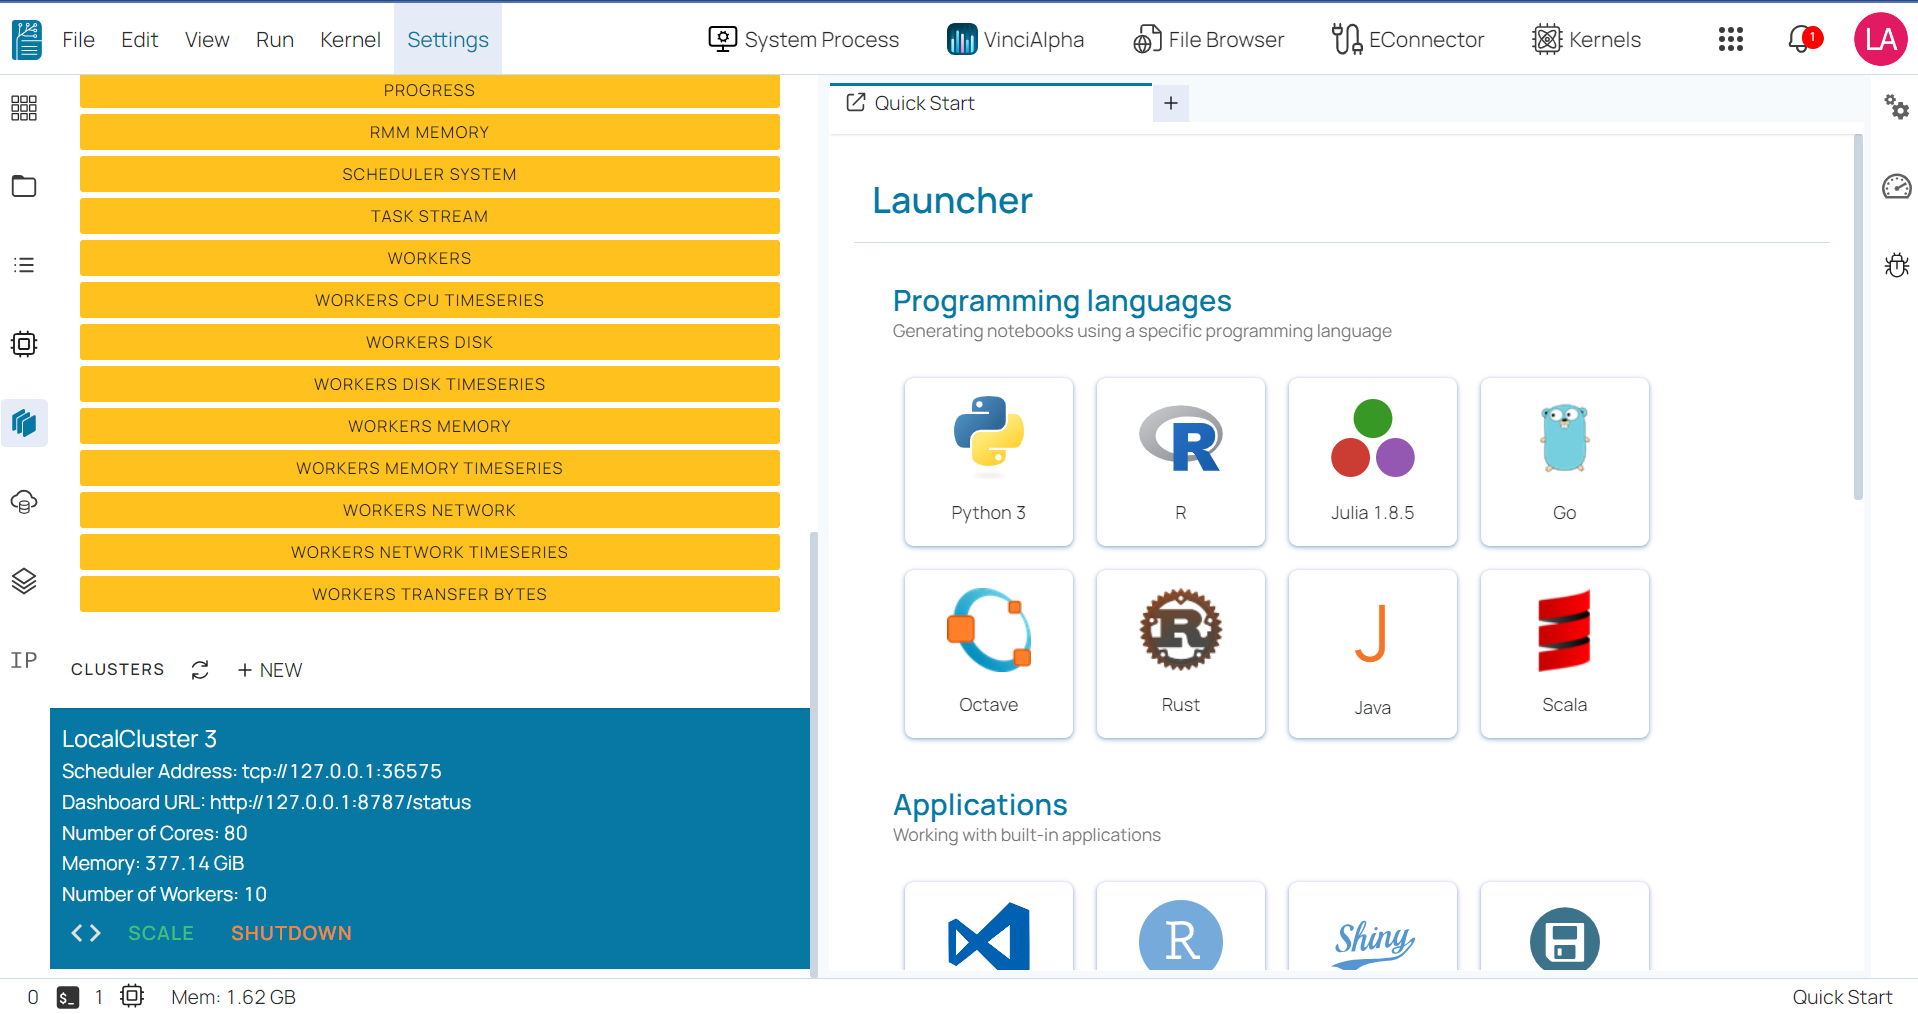
Main work area 
The main work area displays a comprehensive list of tools and applications that are accessible in BioStudio:
- Most Used: the applications that have been used frequently or most recently.
- Languages: all programming languages supported in BioStudio including Python, Go, Julia, Octave, R, Rust, Scala, etc.
- Applications: open-source applications integrated into BioStudio for enhanced functionality such as Terminal, File Browsers, Notebook Jobs, Shiny Server, and VScode.
- Utilities: all file formats supported in BioStudio including Diagram, Text file, Markdown file, CSV file, Julia file, Python file, R file, TSV file, etc.
- Kernels: all kernels created in your BioStudio account.
Top Menu bar 
The top menu bar located at the top of the BioStudio workspace interface features a set of top-level menus that provide access to various actions and functions. The default menus are as follows:
- File: actions related to files and directories
- Edit: actions related to editing documents and other activities
- View: actions that alter the appearance of BioStudio worspace
- Run: actions for running code in different activities such as notebooks and code consoles
- Kernel: actions for managing kernels, which are separate processes for running code
- Settings: common settings and an advanced settings editor.
In addition to the default menus on the left sidebar, BioStudio workspace also provides some functional buttons on the right of the top menu bar, including:
- Kernel: enables users to create a new kernel.
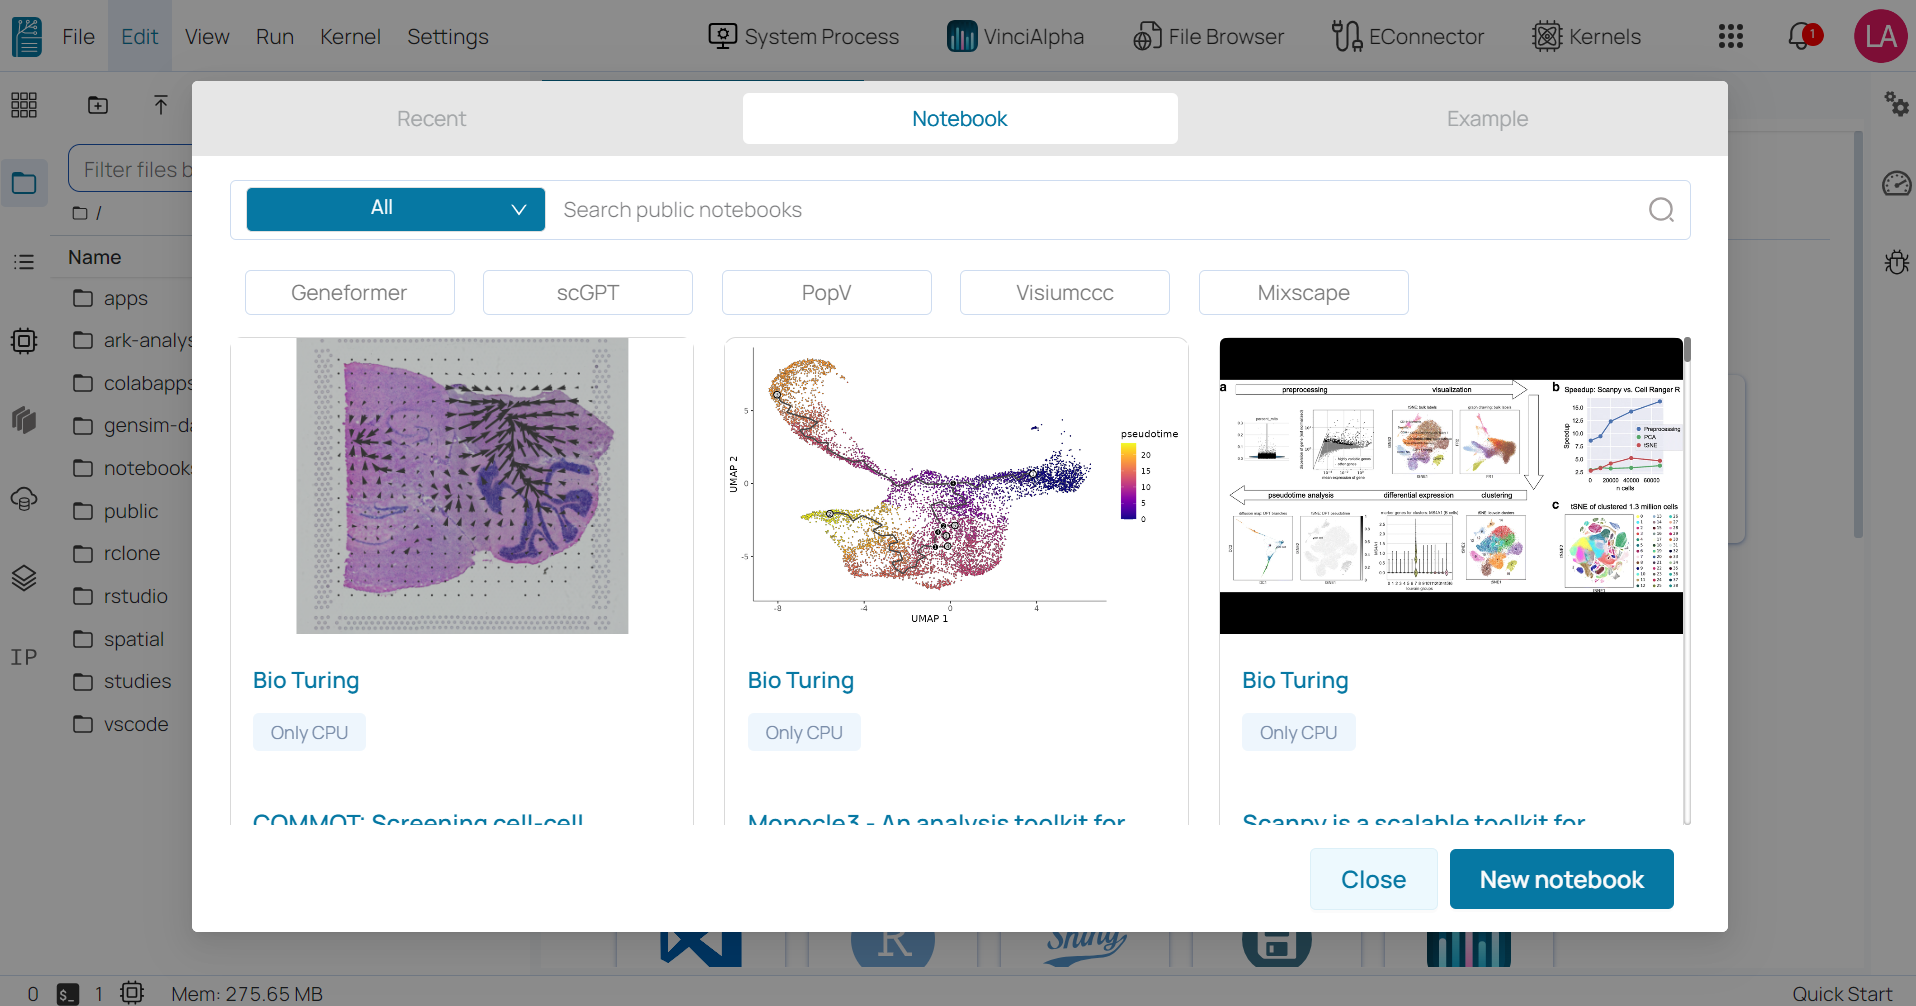
- Notebook: supports users in keeping track of all public notebooks in the BioStudio workspace.
- Notification: displays all working statuses.
- Your avatar: allows users to manage their account and relevant settings.
Left sidebar 
The left sidebar contains several commonly-used tabs which are:
- A file browser: allows users to manage files and directories within their workspace.
-
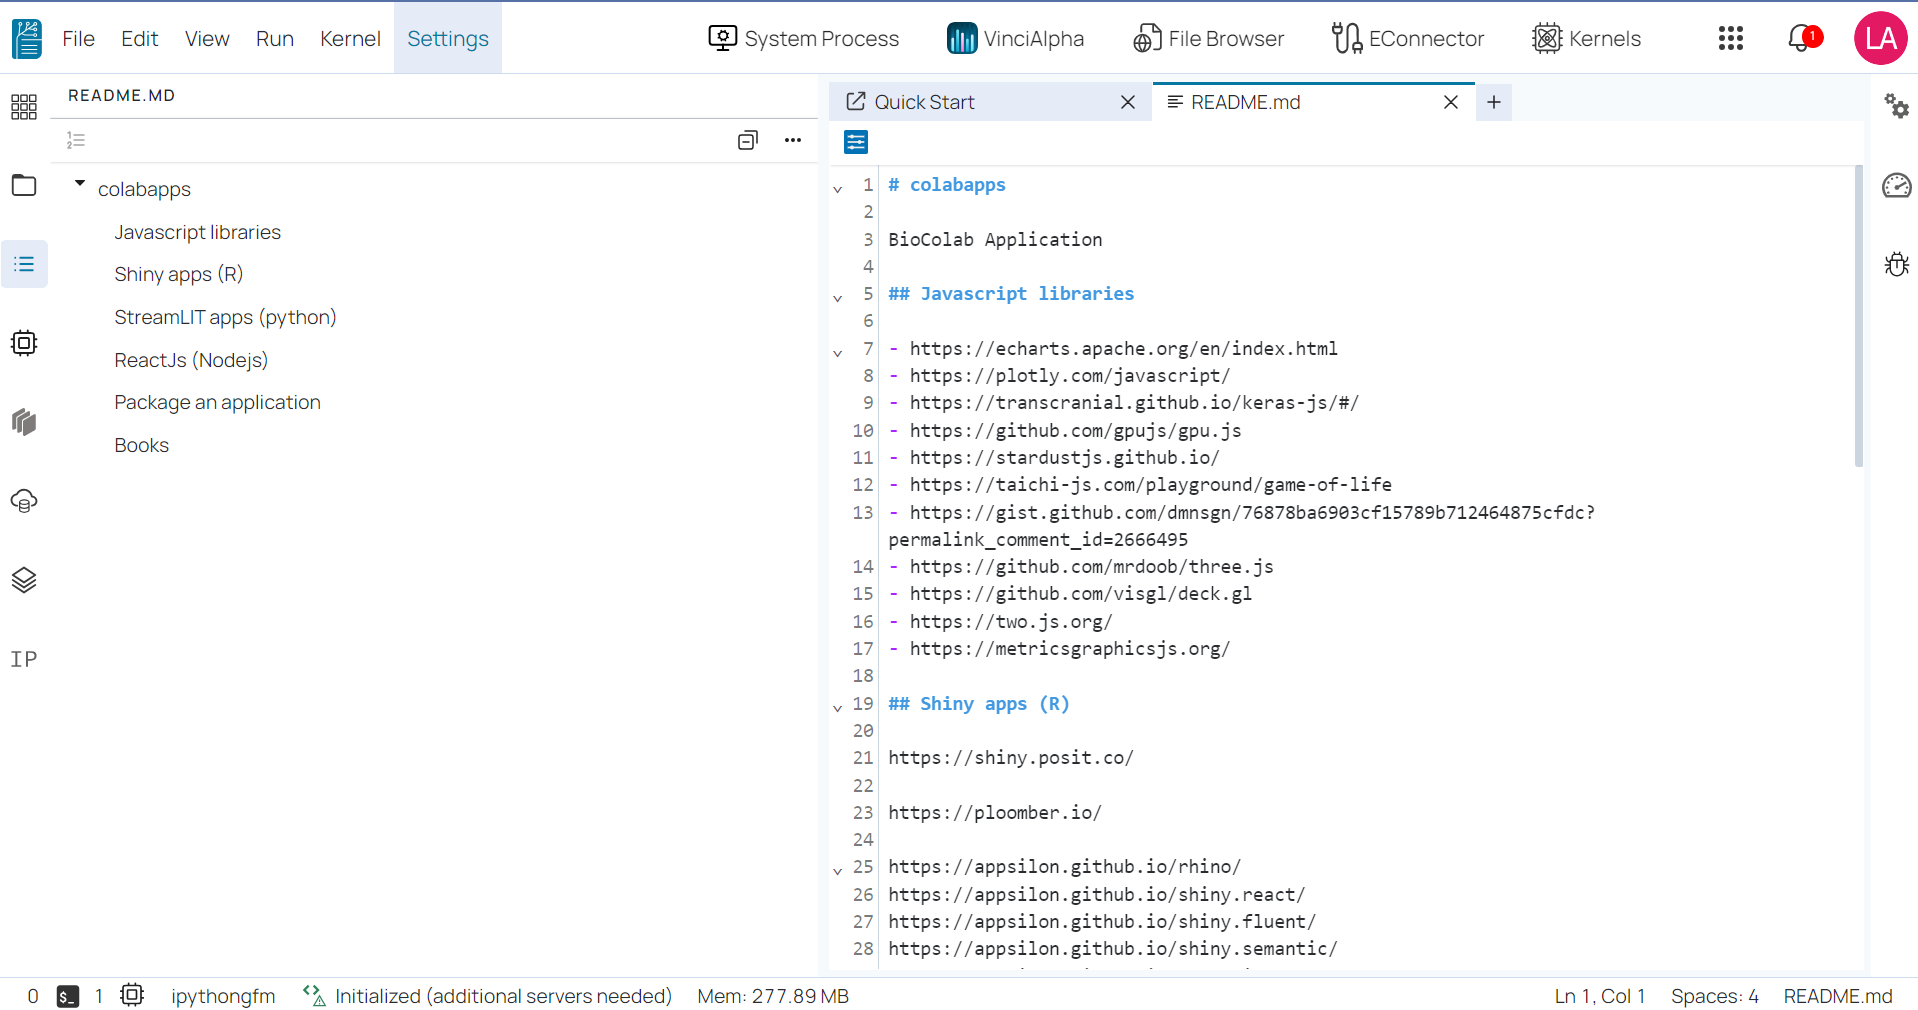
Table of contents: shows the structure of a document and allows users to navigate to specific sections by clicking on entries in the sidebar. It is automatically generated when working with notebooks, markdown, or python files and each listed section will be hyperlinked to the actual section within your document.
Automatic section numbering feature is designed to number your notebook’s sections and subsections based on your headings. This means that if you move any major sections around multiple times, you do not need to manually renumber the document and its subsections.
- Running panel: displays a list of all currently running kernels and applications across all notebooks, code consoles, and directories.
- Dask: enables parallel and distributed computing by distributing tasks across multiple cores, processors, or computers.
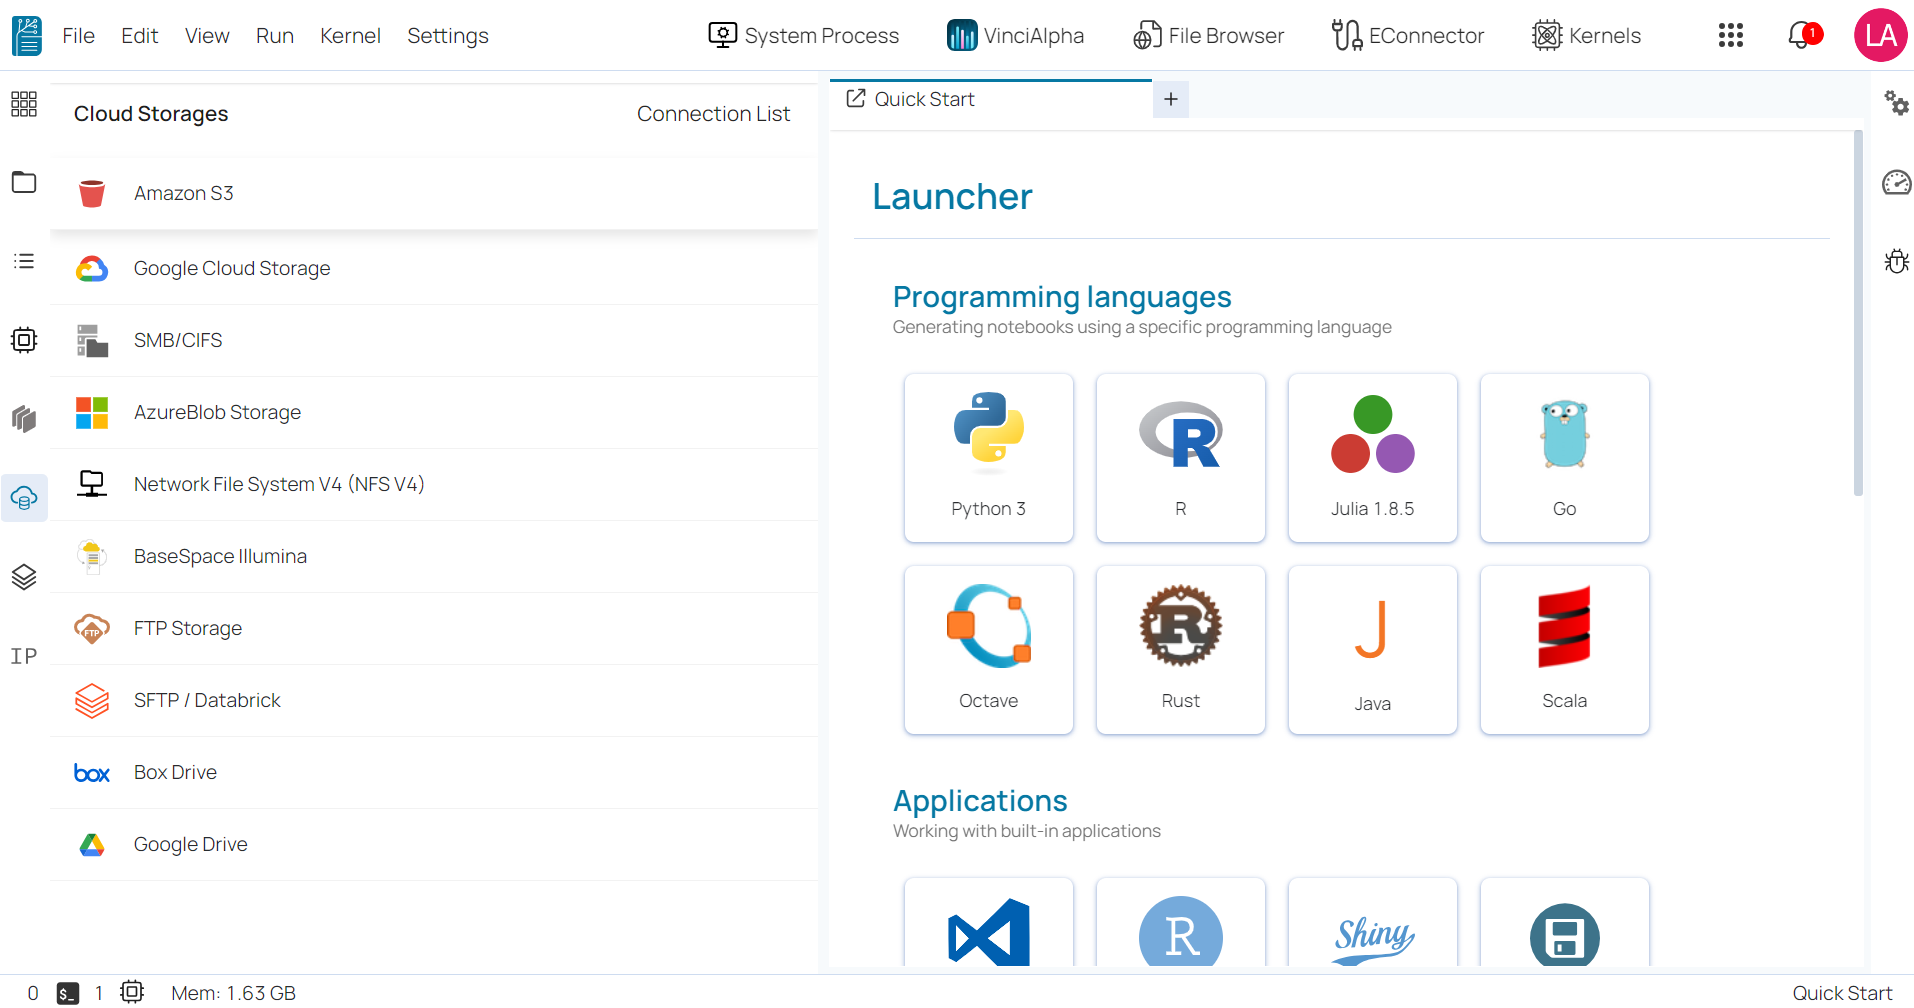
- Cloud Storage: you can create a connection to your cloud storage.
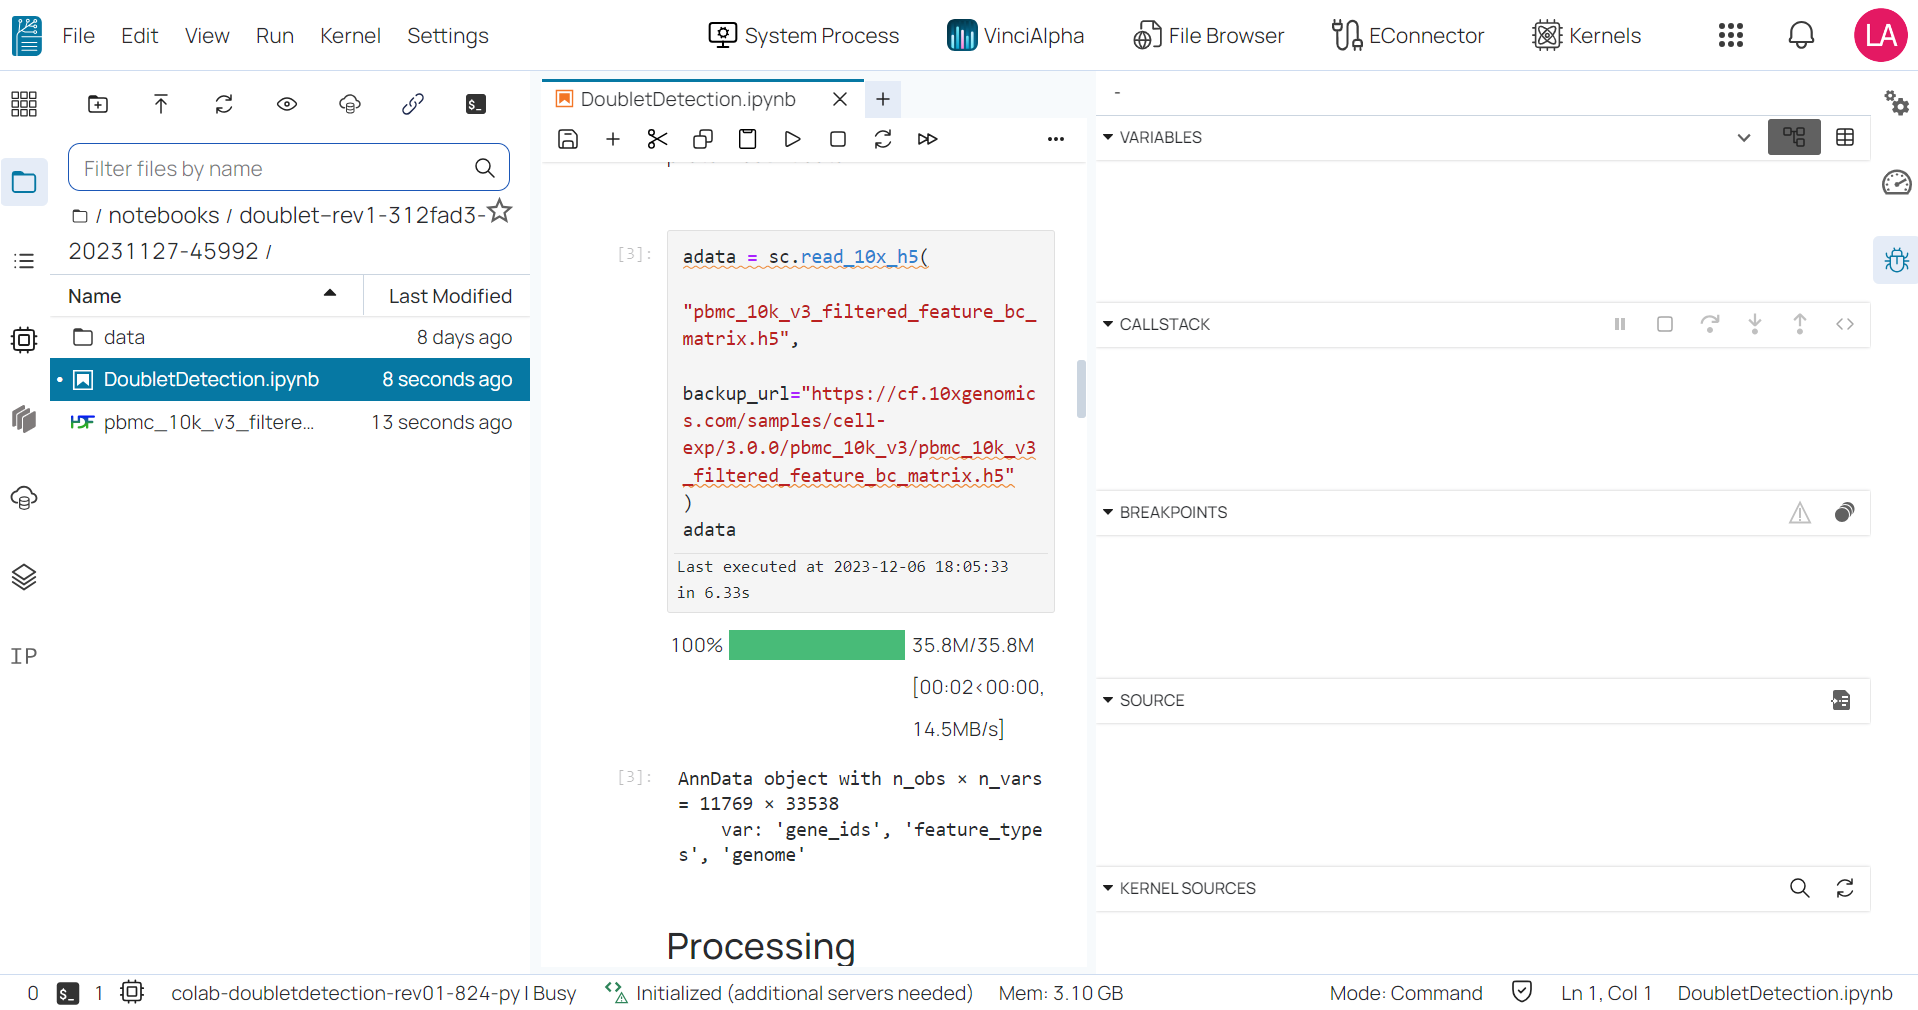
Right sidebar 
The right sidebar contains the following commonly-used tabs:
- The property inspector: is active in notebooks and allows users to view and edit metadata for notebook cells.
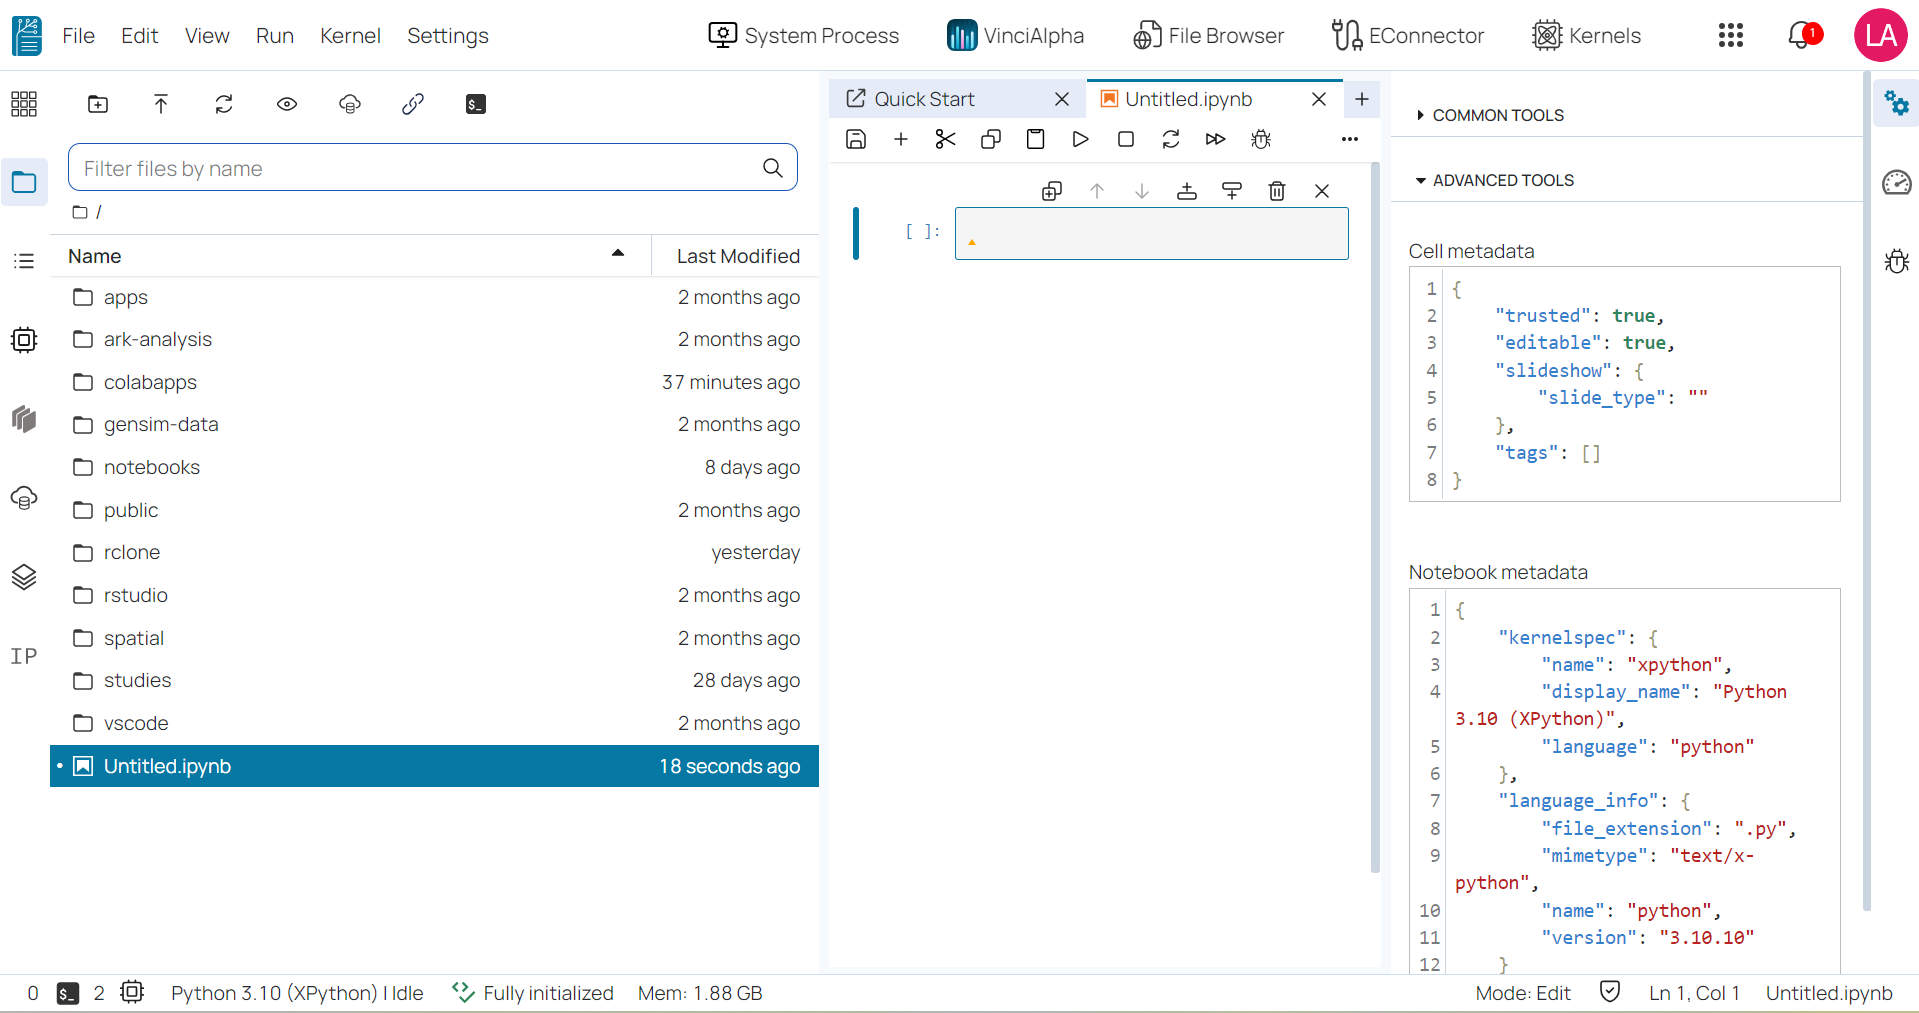
- The Kernel Usage: It provides the kernel resources usage.
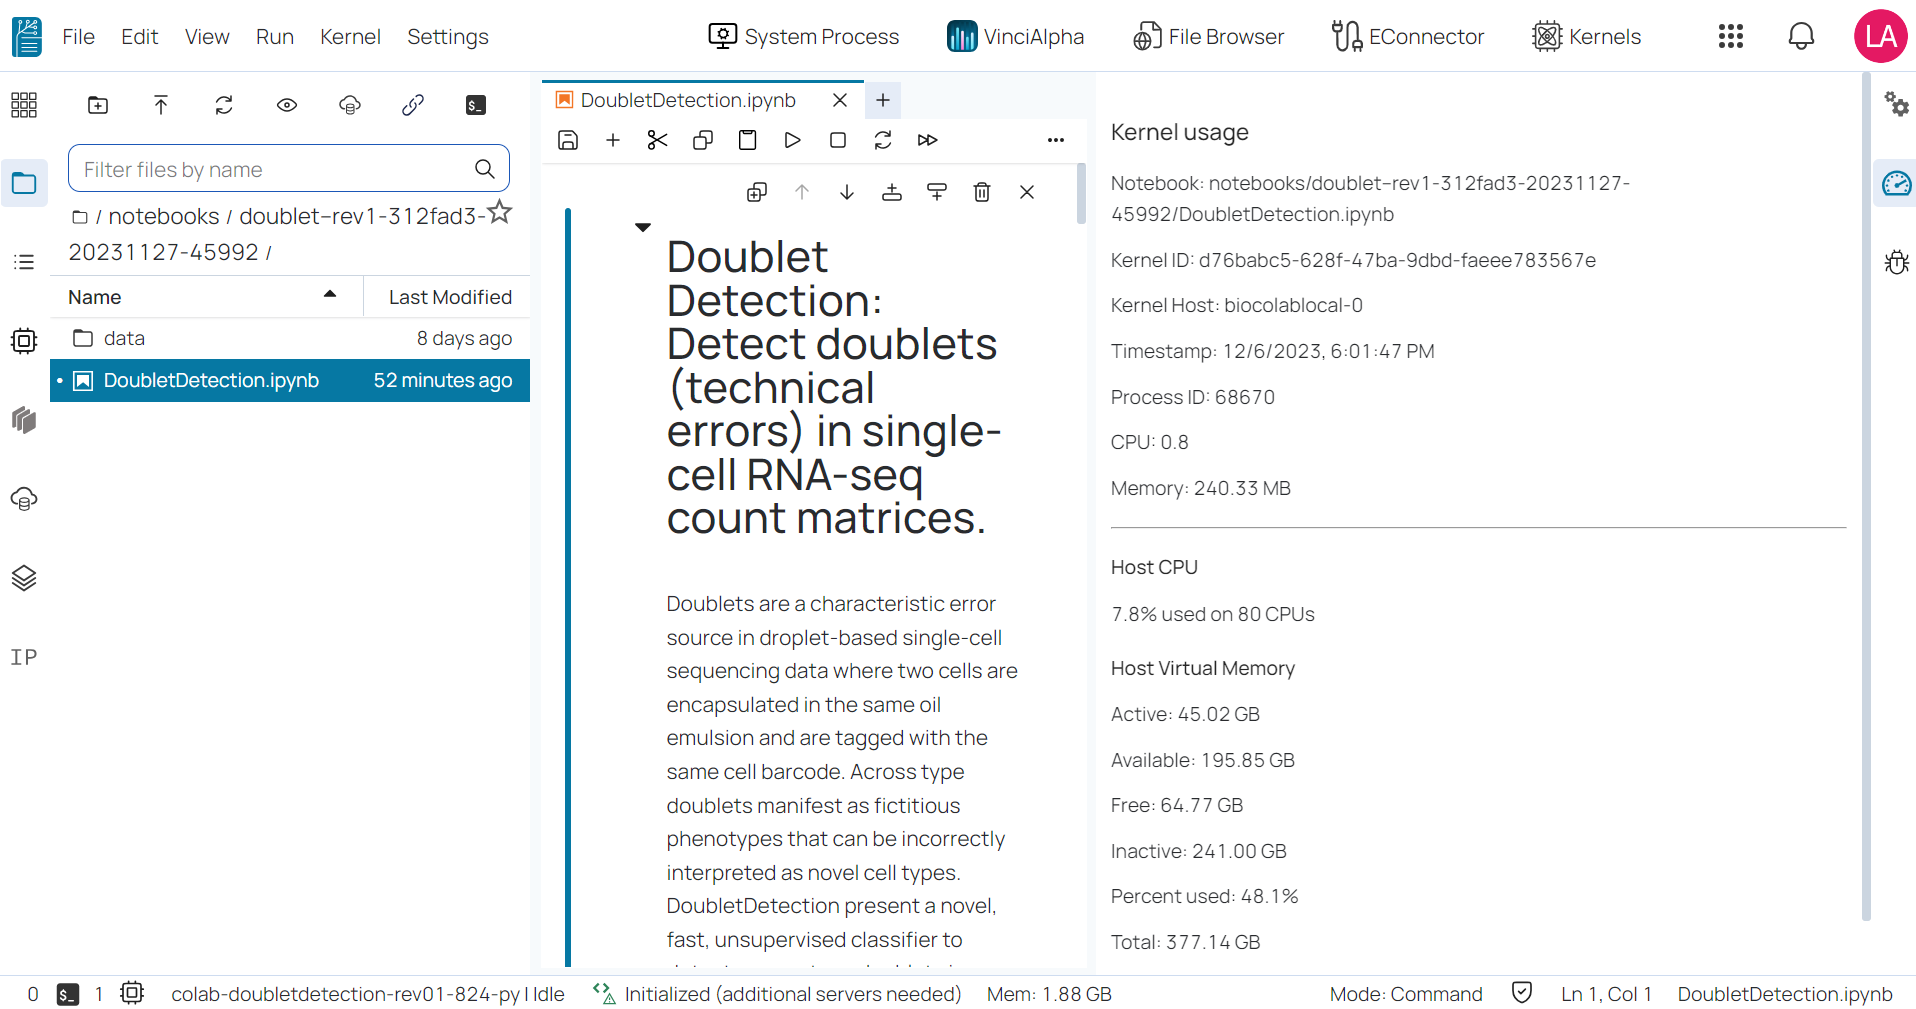
- The debugger: enables users to debug code consoles and files directly from the notebooks.
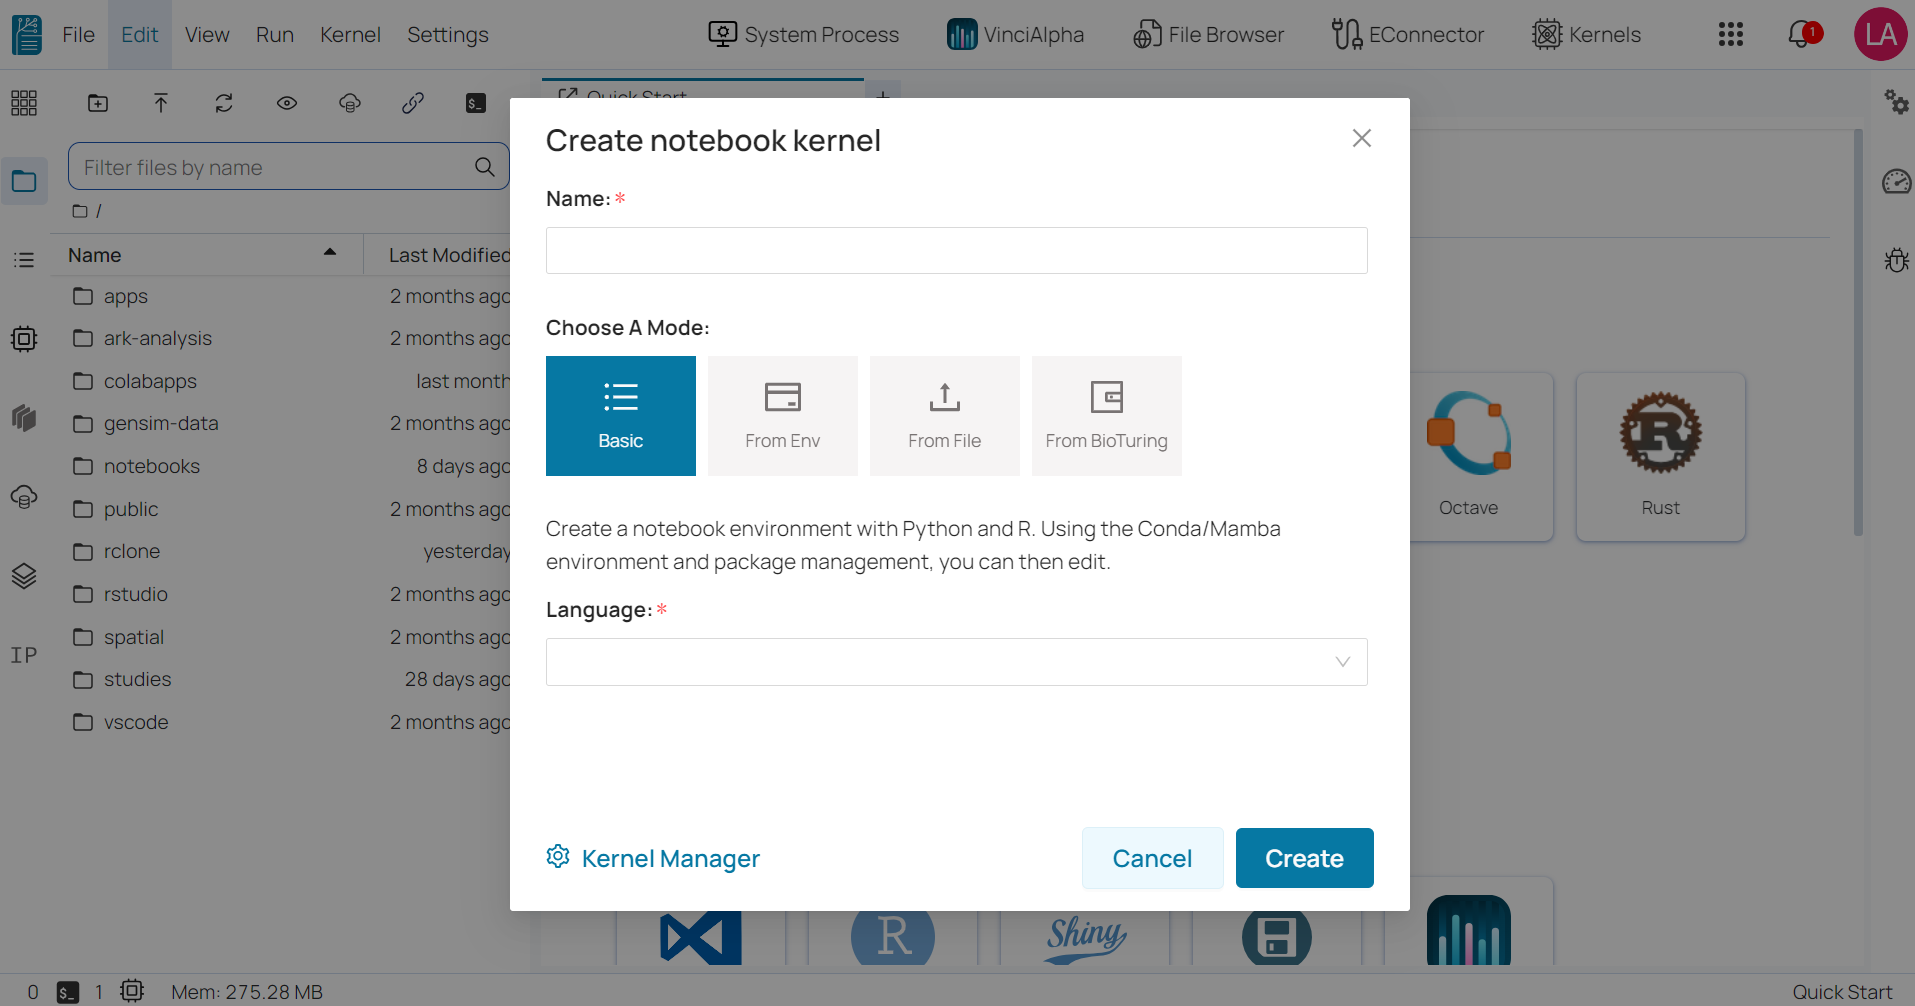
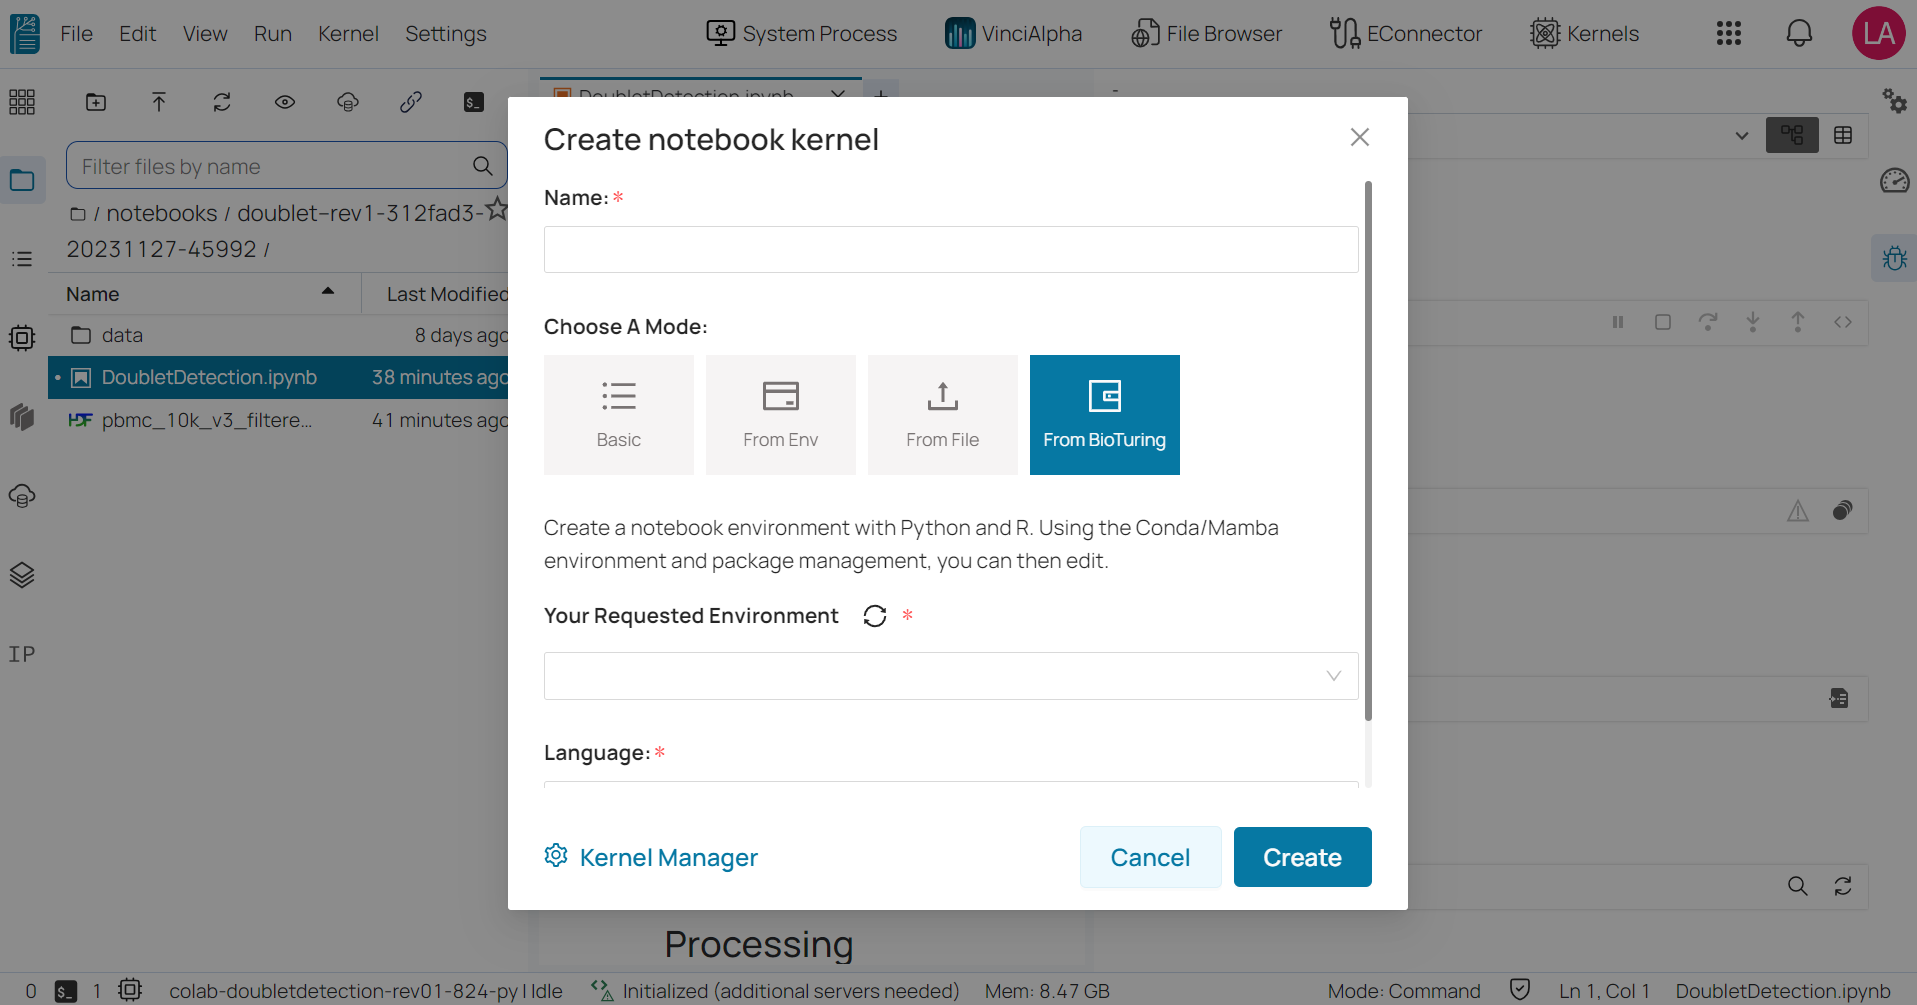
Create notebook kernel 
To create a new notebook kernel in the BioStudio workspace, follow these steps:
- Step 1: Click on the ‘Kernel’ button located on the right side of the top menu bar.
- Step 2: Enter your desired kernel name.
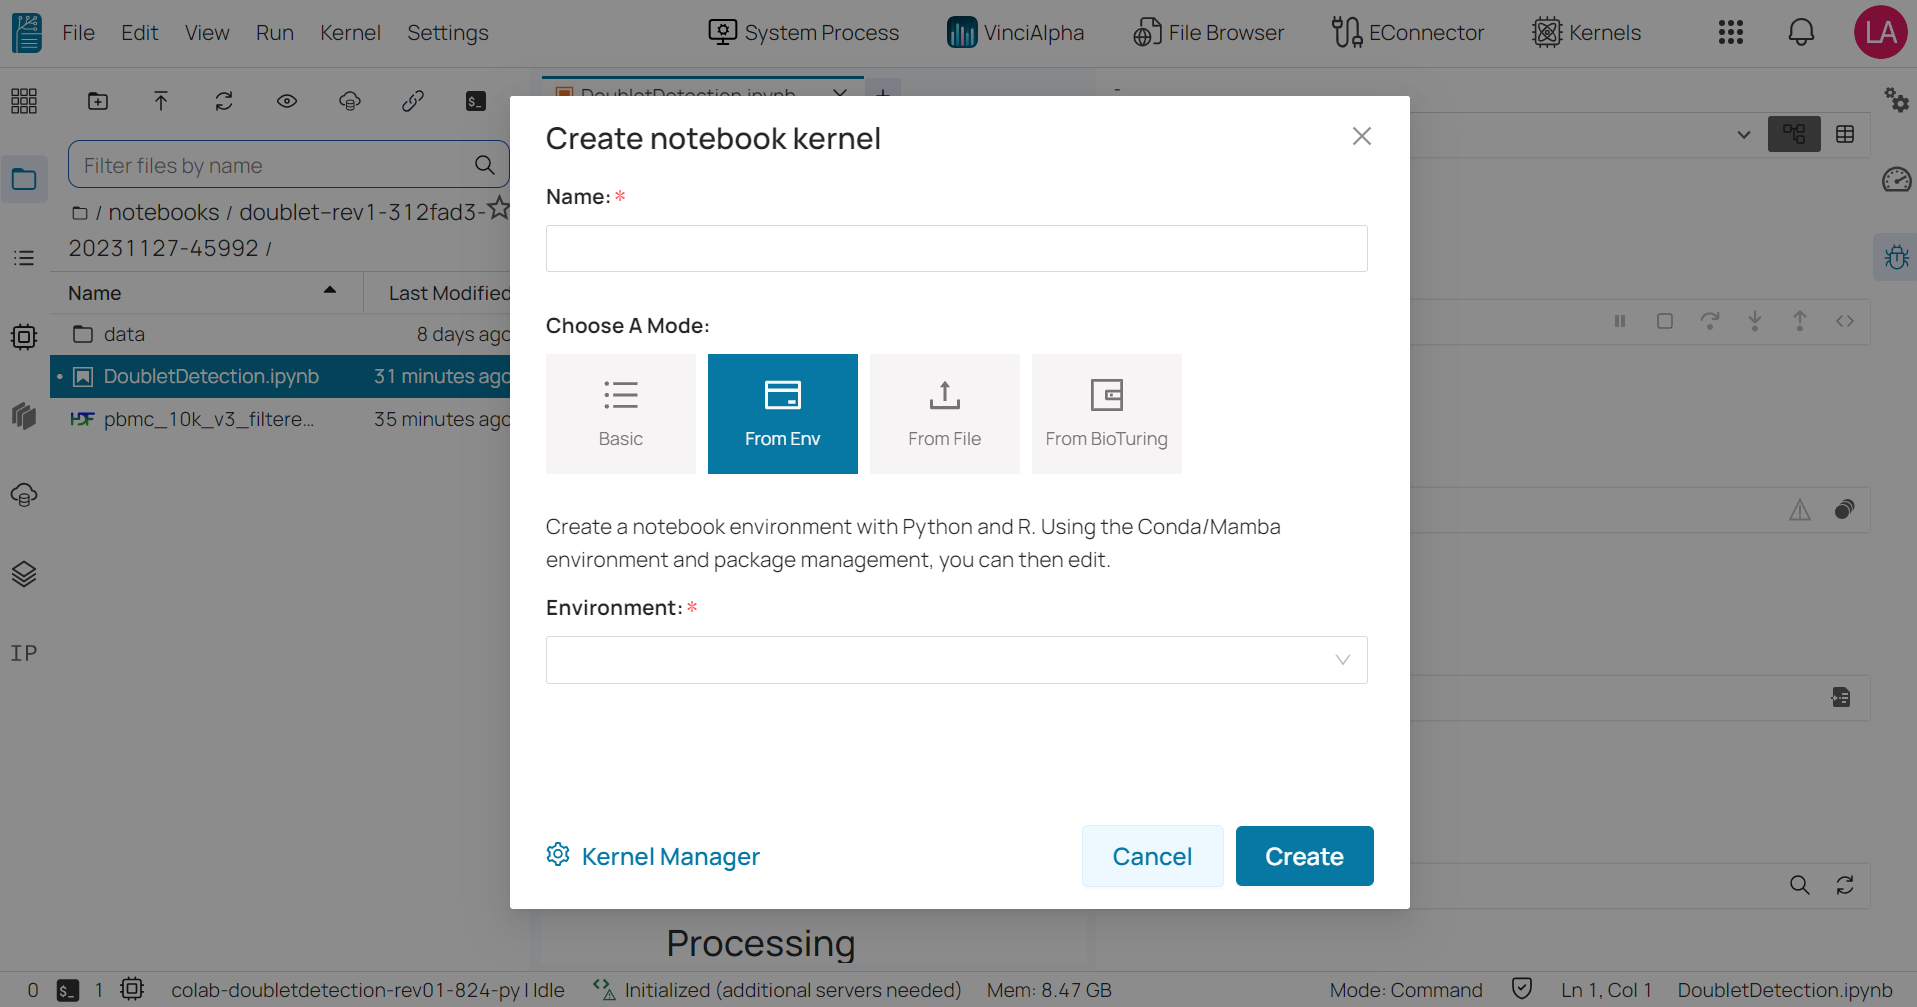
- Step 3: Select one of the three available modes below.
Basic: allows you to choose a programming language and its version from a drop-down list.
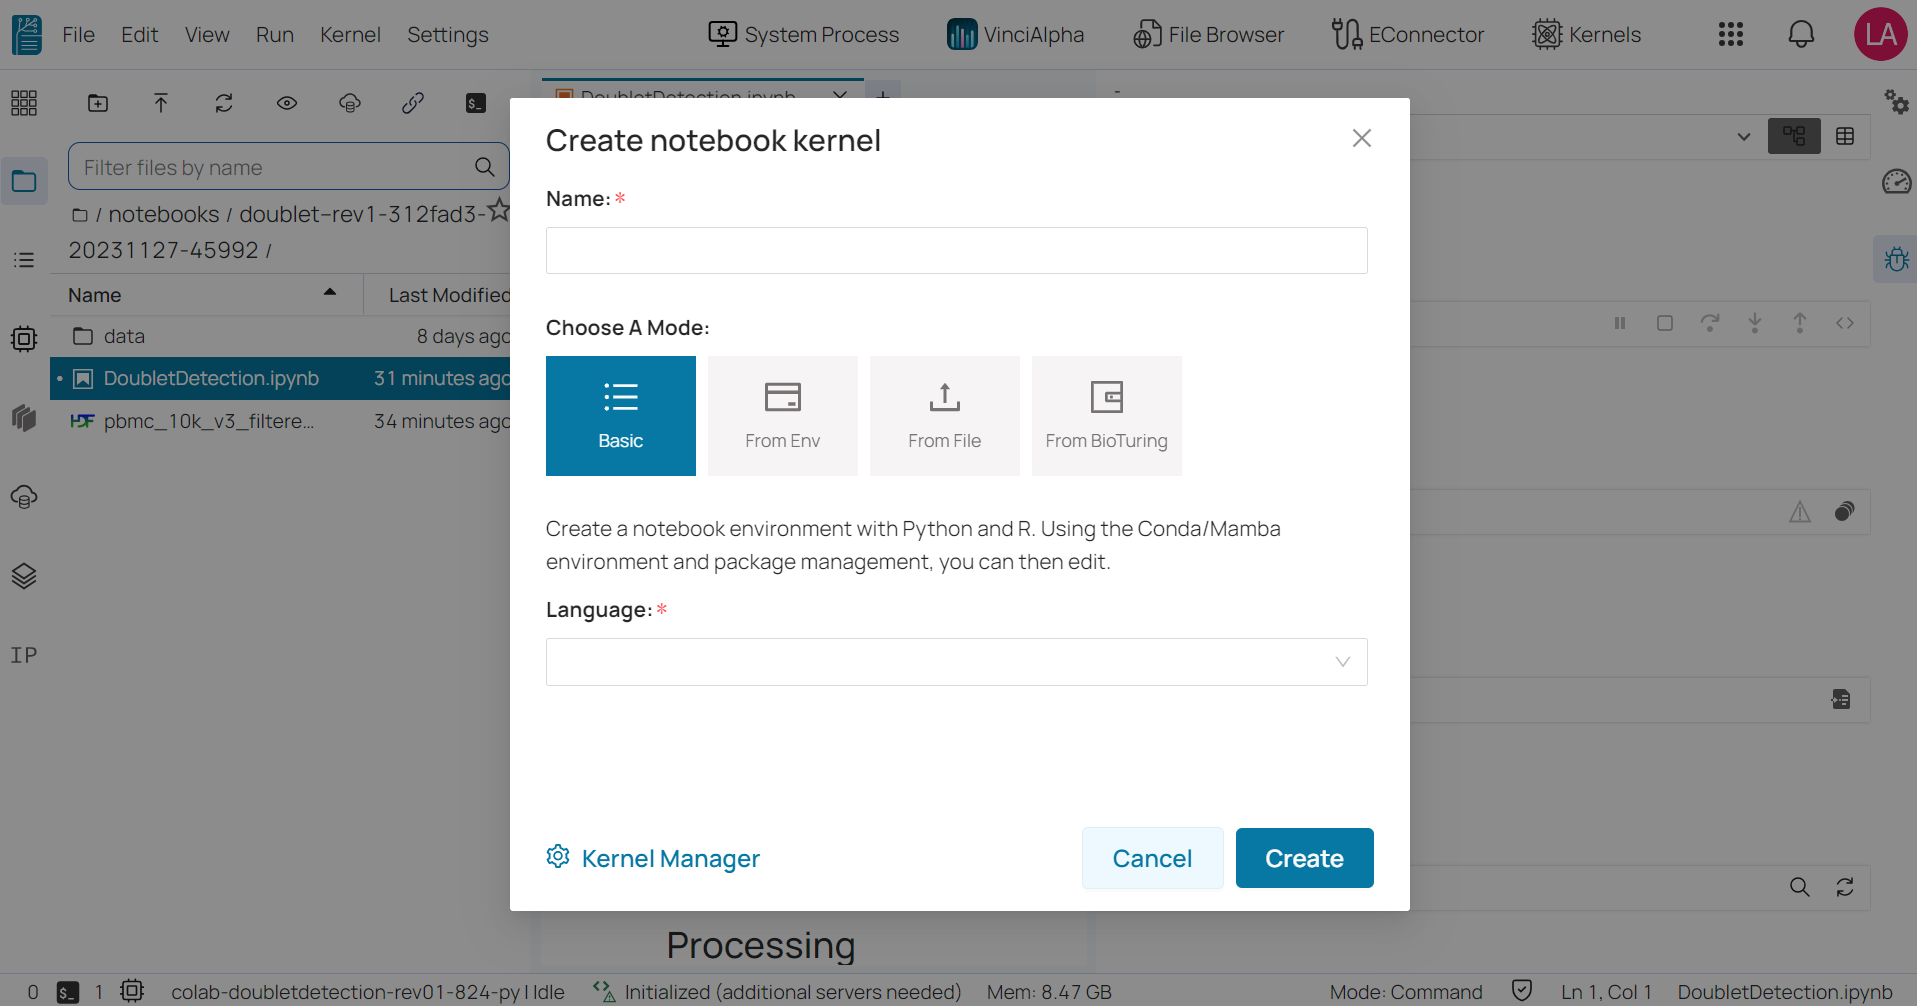
From environment: allows you to select a notebook environment that you’ve previously created, as well as the programming language you want to use.
From file: requires you to upload a YAML file that specifies the packages to be installed in the environment. The YAML file should include the names and versions of the desired packages, as well as any necessary dependencies.
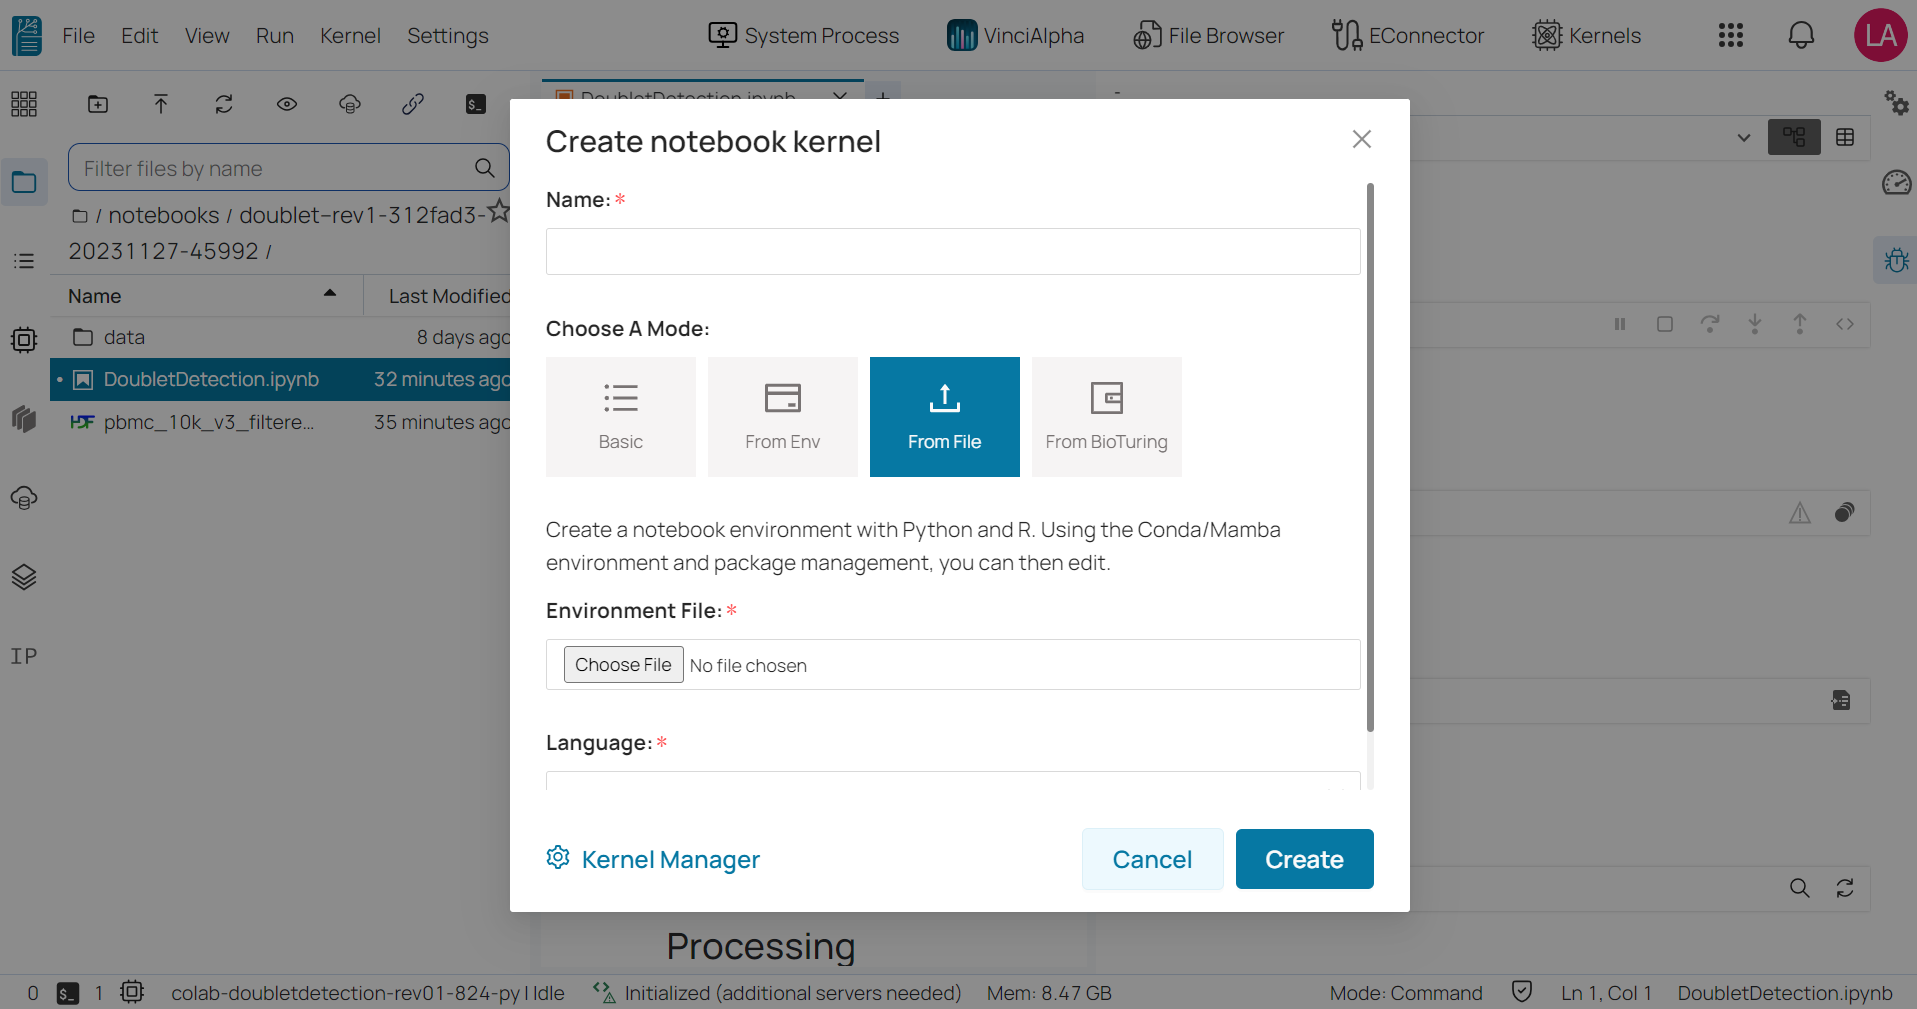
From BioTuring: It used to create notebooks that were created prior to a request and provided by BioTuring based on the request.
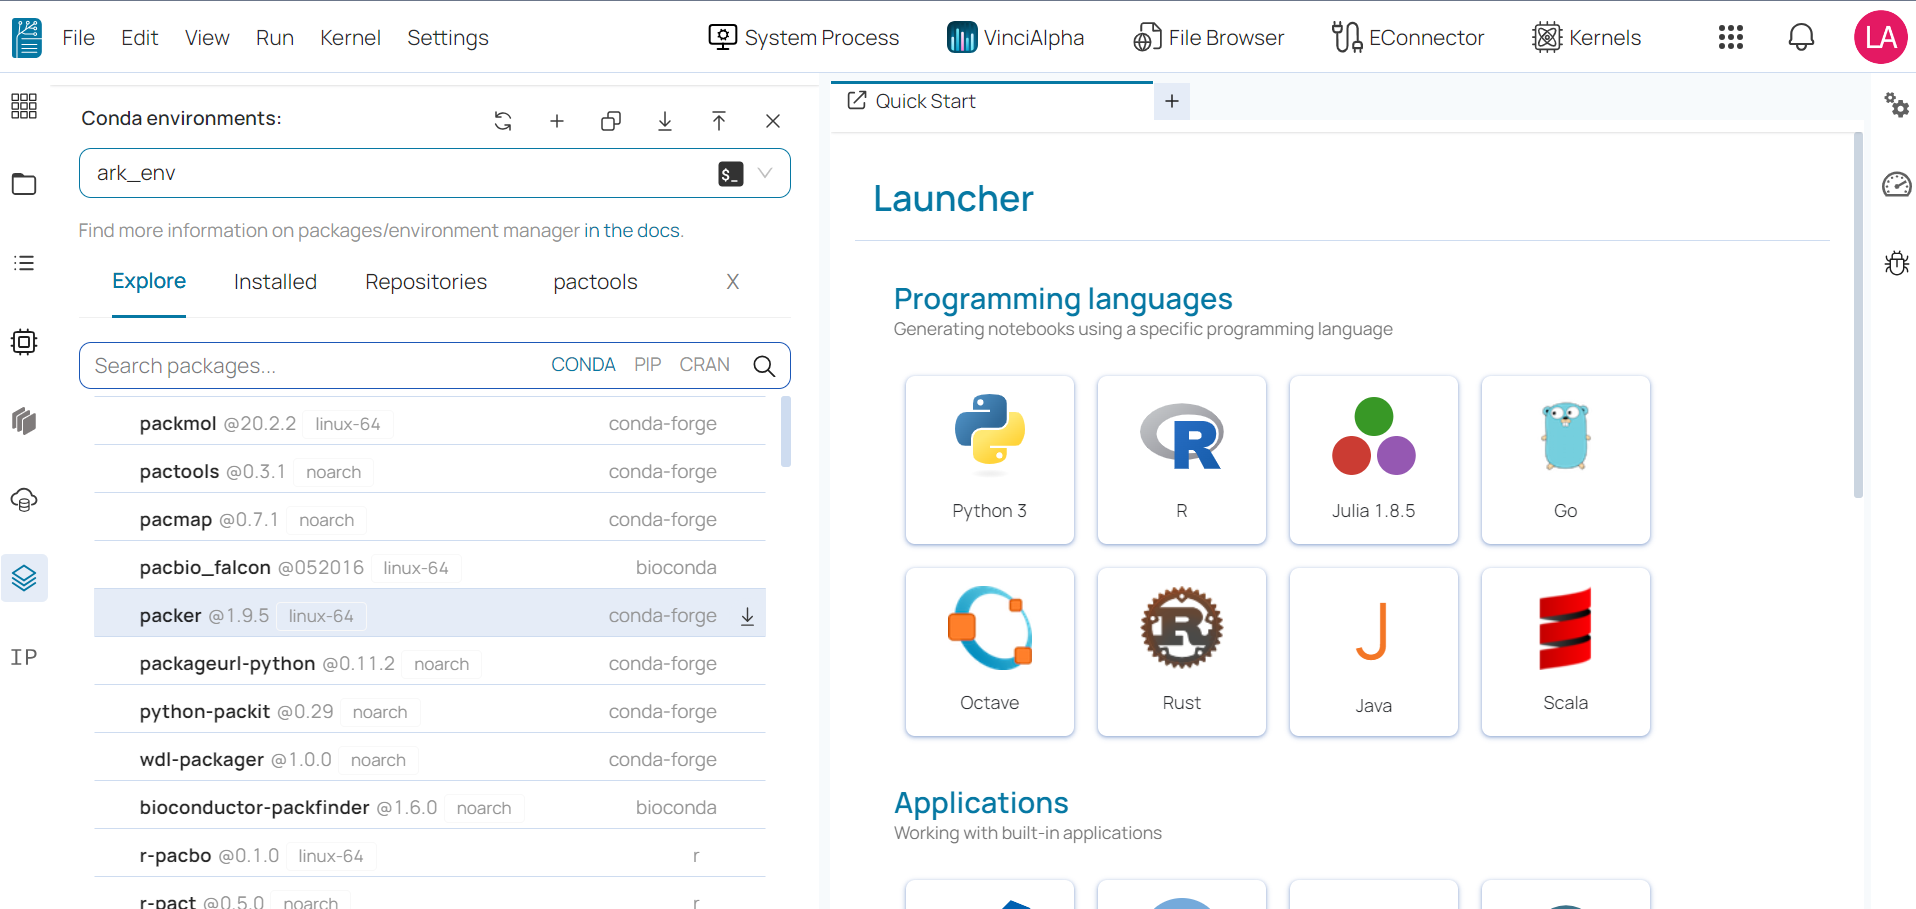
Manage Conda environment 
Users can conveniently manage all packages in their Conda environments by accessing the Conda package manager in the Settings tab located on the top menu bar.
Once you access the Conda package manager interface, you will see a list of all available environments on the left side and a list of all packages in the selected environment on the right side.
Please review more details using the link below.
🔗 Custom environment set up in BioStudio
For more information, please contact us at support@bioturing.com.